

Step 1
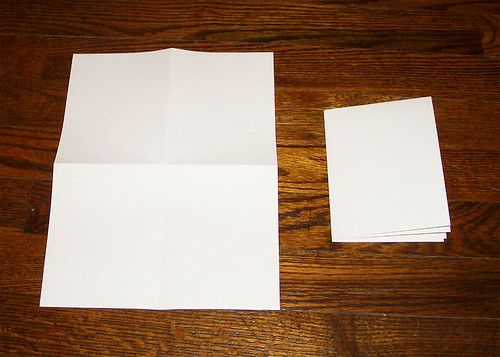
Here is what I use to start making my zine. A few sheets of 8.5x11 paper, my content for the zine sized to fit one fourth of the letter size paper, glue stick, and scissors. I also have a pen and pencil handy, too, so pages can be added as needed.
Step 2
Fold the blank letter pages in quarters. This is the size of the zine.

Step 3
Unfold them and put them together. I find this is the best way to work on the pages.
Step 4
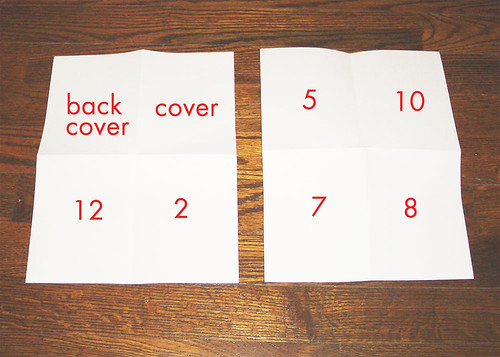
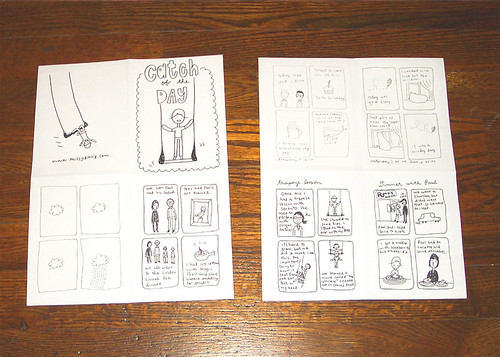
This shows how the zine is layed out. I start with the cover, then the reverse of that is page 1, below the cover is page 2, reverse of that is page 3... (see Step 5 to learn more). Your center is pages 7 and 8.
This shows how the zine is layed out. I start with the cover, then the reverse of that is page 1, below the cover is page 2, reverse of that is page 3... (see Step 5 to learn more). Your center is pages 7 and 8.
Step 5
This is the reverse sides of step 4. Notice the page numbers and how they go. Sometimes I write this lightly in pencil on the pages, this also helps out when you assemble your zine!
Step 6
Cut out all your zine content. I like to make it a little smaller than the actual page size so there isn't any content that gets lost when it is copied or gets stuck in the margins. A good rule is stay .25 inches in from all edges of your pages.
Cut out all your zine content. I like to make it a little smaller than the actual page size so there isn't any content that gets lost when it is copied or gets stuck in the margins. A good rule is stay .25 inches in from all edges of your pages.
I like to put all my pages in order of how they will appear in my zine. Sometimes I even place the facing pages together so I can get a feel of how they will look together and flow when you read the zine.
Step 7
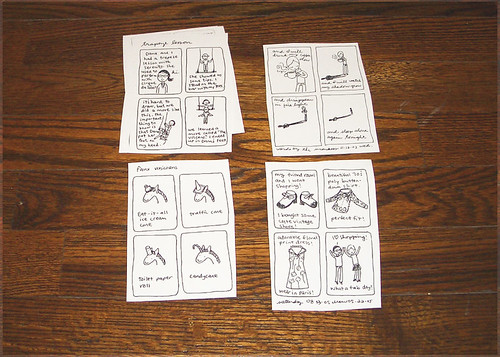
Now that your pages are in the order you would like, take the time to glue them in place. Sometimes I like to draw on the pages here, too, or draw and glue other art, put stickers on the pages, or use some rubber stamps. "Pimp it out" as they say...
Notice the cover and back cover are together, as shown earlier.

Step 8
Here is the inside pages of the zine. Notice the first page seen is page 1 (the reverse of this is the cover) and so on.
Now is the time to take your zine to get copied! I xeroxed my zine on to nice pink paper.
Step 9
Now that you have your copies, please cut the paper in half as shown here. This is how you put your zine together.
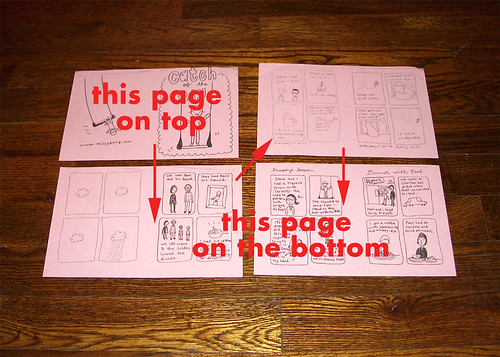
I like to lay it out like shown in Step 7. Starting with the cover, I make an assembly line. Each page goes under the cover page, as shown with the arrows.
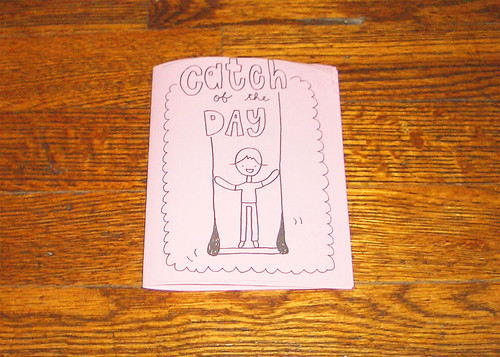
Fold it in half and check your pagination - are your pages in the correct order? I hope so!!
Step 10
Staple your zine in the center a couple of times.
Hooray! You now have a zine!
BONUS!
Now that you understand how to make a quarter page sized zine, we can move on to making a smaller sized zine from a single sheet of letter size paper.
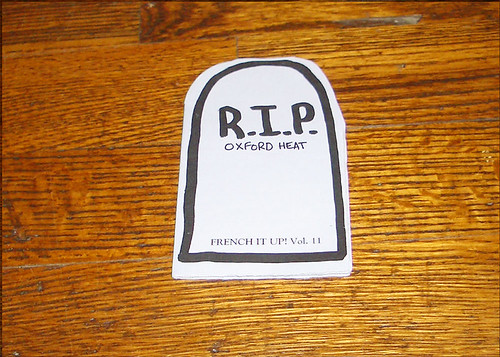
This is how to make a tombstone shaped zine. The final size is approximately 3 inches wide and 5.5 inches tall. I will move faster in this tutorial because the set up is similar to the steps I just showed you, but a little trickier.

Step 1 Bonus
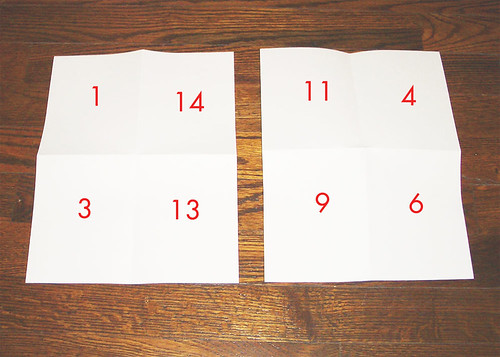
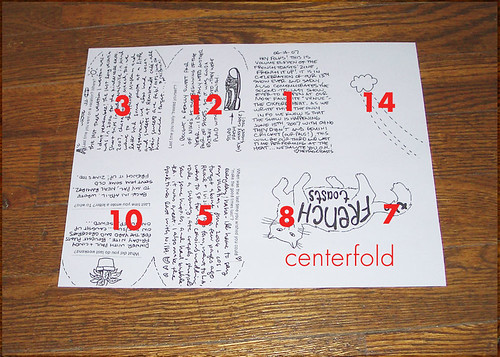
First, fold the paper into quarters and then in half width-wise. This will give you your basic shape and template. Use the photo as a guide of how to place the pages. once again, it helps to use a pencil and mark the pages. I have marked the pagination in red in the photo.
Since this is a tombstone-shaped zine, notice there is a dotted cut line as a guide on most of the pages. It is also set up with the bottoms of the pages meeting in the center of the layout. This will make it easier to cut the shape in the end. Be careful to leave a little space when laying out the pages so as not to cut off any text or art.
Step 2 Bonus
This is the reverse side of your paper in Step 1. Notice how page 1 is on the reverse of the cover, page 3 is on the reverse of page 2, and so on. Look at pages 7 and 8, that is the centerfold. They are upside down.
Step 3 Bonus
Copy your zine and then you are ready to assemble the pages. Since the paper shifts during the copying, I cut the tombstone shape before I stapled the zine, then I cut out the pages and stapled them together.
There you have a tombstone-shaped zine!
Hey this little guide is very useful!I just came across your blog, it's so nice.
ReplyDeletehttp://backyardzine.blogspot.com/
Thanks so much! I hope this all makes sense cos this is how I make all my zines! :)
ReplyDeleteThanks, Missy!
ReplyDeleteYou are welcome, Christopher! I hope this helps people make zines!
ReplyDeletesuper missy : diy queen !
ReplyDeleteThanks, Katy! You are tops in my zine!
ReplyDelete